How to Install Custom Wraps on Cybertruck
Installing a custom wrap on your Cybertruck requires specific file formatting and USB preparation. Follow these steps to ensure your design appears correctly in the Paint Shop menu.
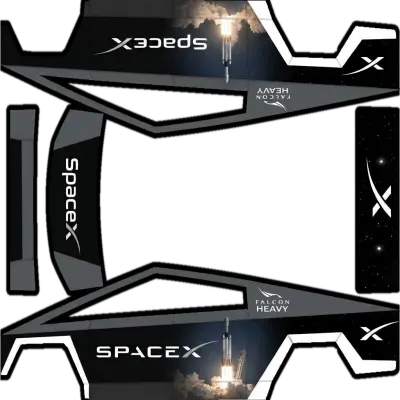
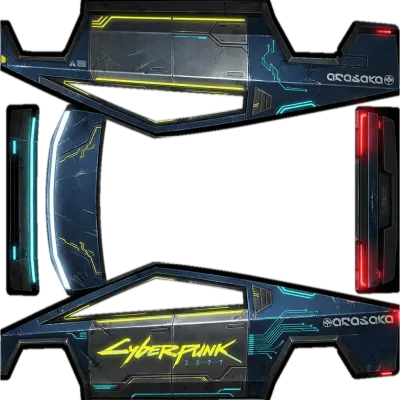
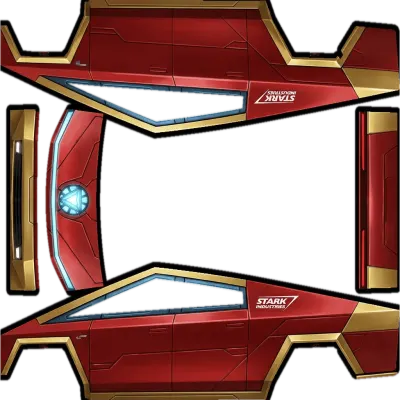
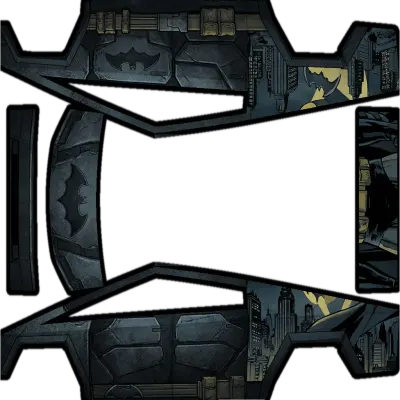
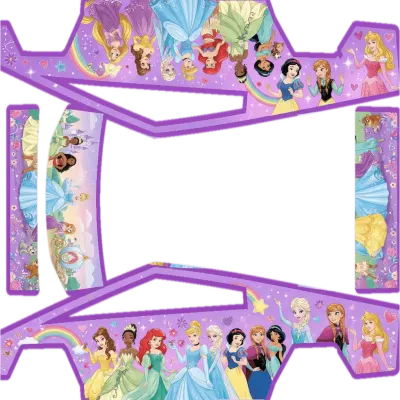
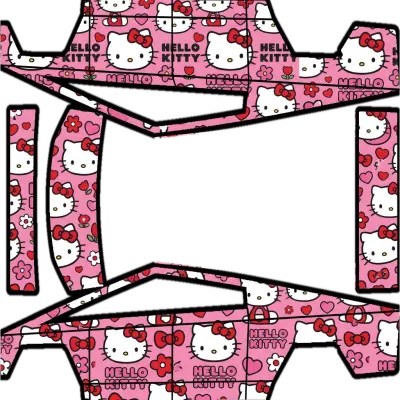
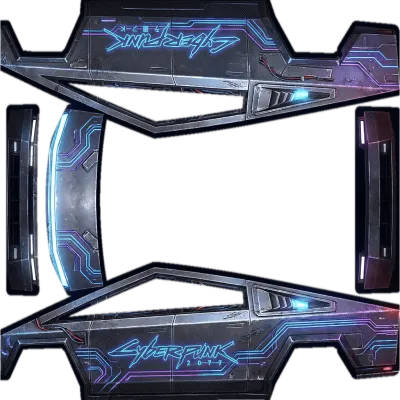
Which template fits my car?
- The Cybertruck uses a single dedicated template for all its models.
- Ensure your downloaded file is explicitly labeled for the Cybertruck to match this template.
- This ensures the design aligns correctly with the vehicle's unique geometry.
Install in 3 steps
- 1Copy the PNG into a folder named Wraps on a USB drive (exFAT or FAT32).
- 2Plug the drive into your Tesla.
- 3Open Toybox → Paint Shop → Wraps and pick it.
Tips
- Verify your PNG file is under 1 MB and between 512x512 and 1024x1024 pixels.
- Name your file using only letters, numbers, underscores, or hyphens, keeping it under 30 characters.
- Format your USB drive as exFAT or FAT32, not NTFS, and place files in a root folder named Wraps.
- Remember that the Cybertruck supports up to 10 wraps loaded from the USB drive at once.
FAQ
How many Cybertruck wraps can I load from a USB drive?+
You can load up to 10 wraps from the USB drive into the Tesla Paint Shop.
What file format is required for Cybertruck wraps?+
The wrap file must be a real PNG image, sized between 512x512 and 1024x1024 pixels, and smaller than 1 MB.
Do I need different templates for different Cybertruck trims?+
No, one template covers the Cybertruck, so you only need to select the Cybertruck template in Paint Shop.